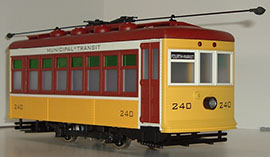
Photo 1
From this, Hartland Locomotive Works Birney car, right out of the box.
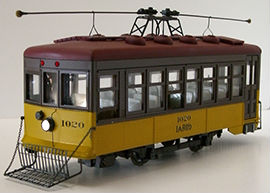
Photo 2
To this, nicely rebuilt Birney that has seats, better looking headlights and trolley poles.
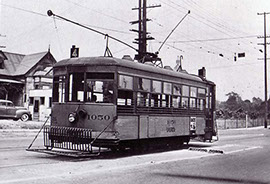
Photo 3
(LARy) Los Angeles Railway Birney Car # 1050
Upgrading your Birney Car
Light Rail Products (LRP) took a Hartland Birney Car and modified it, by laying the motor down 90 degrees to open the floor of the car up to install an interior complete with clear windows, seating, interior lights, controllers, and some new exterior appointments as well, including fenders, headlights, rear marker lights, trolley catchers…
LRP's Birney Car will be modeled following the lines and paint of a Los Angles Railway car (LARy), (see photo 3). This scheme was chosen, since the LARy was a narrow gauge operation, and the Hartland mechanism is, in 1:24th scale, a narrow gauge car. The mechanism is nicely designed and could be made standard gauge easily. This maybe explored in a future LRP web article.
Begin by purchasing a Birney Car, and related LRP parts. Parts you may consider for your Birney Car project may include:
LRP 004 Trolley Base and pole kit
or alternate LRP 023 Trolley Base and pole kit
LRP007 Crouse-Hinds Headlights
LRP 020 Westinghouse Compressor
LRP also used details from other vendors, Valley Brass and Foundry of Pinedale, CA, "Trackside Details" Brake valve (TD 46), air tanks (TD 150) & air brake cylinder (TD 194).
In the process of your new creation, you'll also need to know what paint scheme the car will be in, as painting takes place relatively soon after you start working on your Birney Car project.
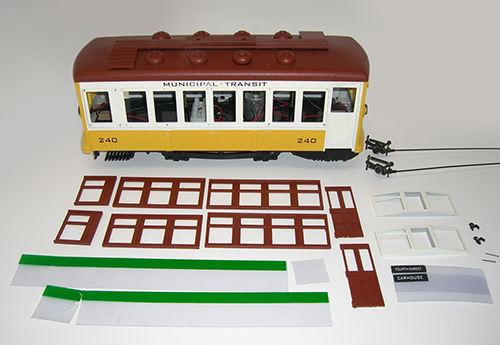 Photo 4: (above) LRP removed more parts then might really have been necessary in preparation for painting. Note: the window sash, should you remove them, do this slowly and carefully, they are held in with glue and locating pins, some of which most likely will break off in this process.
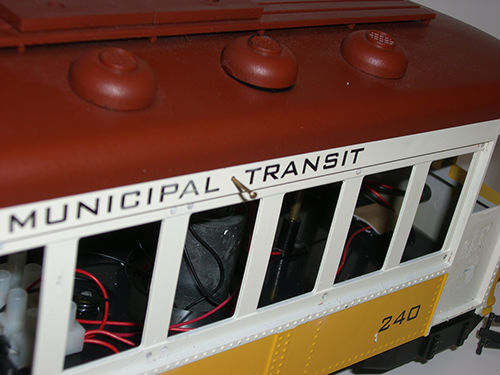
Photo 5: (above) Note: Brass pin sticking out between Municipal and Transit
To remove the roof, there are two brass pins located along the upper letter board (see photo 5); these are on the sides above the windows. Removal of these two pins should allow the roof to come off. Save the pins and all related hardware, as you will need these later. It's good practice to save all sorts of odds and ends; they will come in handy on other projects down the road, maybe way down the road. For instance, the controllers, which most Birney cars had, are model K-63, these are approx 20” X 10” (width + depth) and LRP used a pair left over from earlier conversion of a Bachmann Closed car (see model section; 8 window closed car model). They are close as we could get for this project.
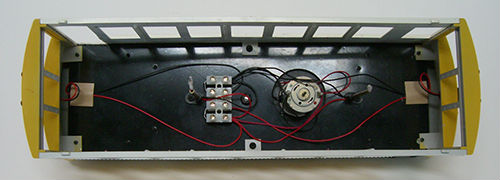
Photo 6: (above) After removal of the roof, this photo shows the interior as the model came out of the box.
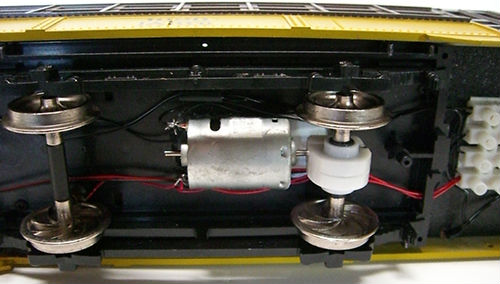
Photo 7: (above) Shows the motor now secured to the floor and the terminal block now located to the right. This would also be good time to paint the outside hubs of the wheels a flat black with some rust color as well.
Flipping the car over (and back)...remove the drive unit from the car (motor and gear set with axle). Label and remove the wires from the terminal strip. Remove terminal strip. Test fit the motor & axle assembly, as the motor is going to lay under the floor, facing towards the other axle assembly. Install the terminal strip under the car at one end, being clear of the motor and gear mechanism. It would be wise to also test the running motor and gear unit where you believe the motor needs to lay. Once glued and set, it might be difficult to repair. Test run by adding test lead wires terminal strip and temporarily hook motor back up.
Rerouting the wires will take some disassembly of the truck end beams, and cutting slots for wires.
Be sure, before gluing the motor and gear unit in place that you have the axle brush wipers and springs installed. Once glued in place, let glue set, test run again on a track before proceeding. Using caulk type glue will allow the motor to be a little flexible and have some give to it.
Once you have the mechanism running well, and your happy with the result, perhaps it’s time you begin to paint the basic car shell. Painting over the original widows would help in not needing to mask the car to keep the over spray or drips from your paintbrush from getting into the interior of the car. Our windows were removed and saved for other projects. This is also a good time if you want to have a window opened, to cut and trim out the window sash. Position the sash, re-glue as needed. See photo below. Again, it takes time to do this and to make it look right.
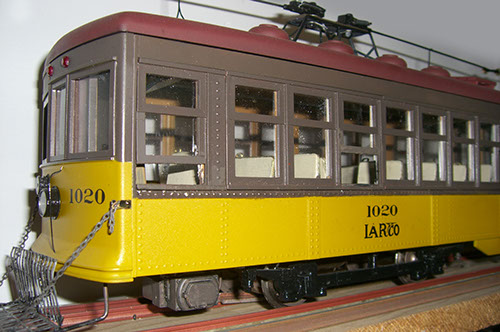
Photo 8: (above) Note 1st and 4th window opened. Metal window guards could be added, plus route sign boxes should be added too. See photo # 3 of LARy car. The window guards could be made of brass rod, soldered to some thin strips of brass, being sure to line the strips up with the window posts.
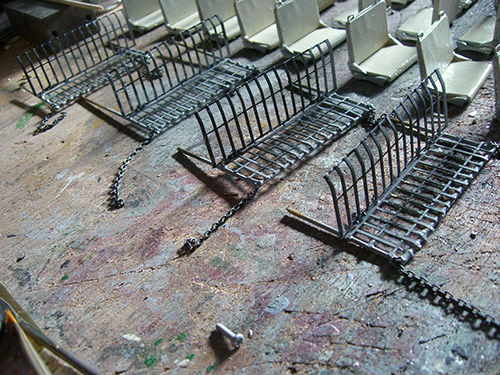
Photo 9: (above) Meanwhile assemble and paint all seats, controllers, trolley poles + bases, and other parts as you go along. You can have several assembling, painting stages, etc... all going at relatively the same time. Above are seats and fenders. LRP made two Birney Cars and so there were a lot of seats!
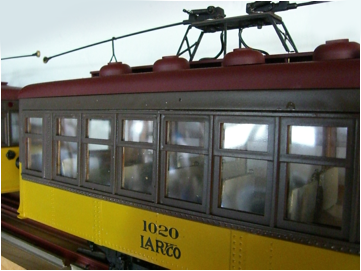
Photo 10: (above) If you choose to built a tower for the trolley poles (some Birney’s, to reach the overhead wires, required some sort of tower); this is also a good time to build this. LRP does not offer a tower, but we have someone who makes these one at a time for us, and could do this for you as well. Let us know. LRP also had our tower made and car professionally painted by this same shop in Southern CA.
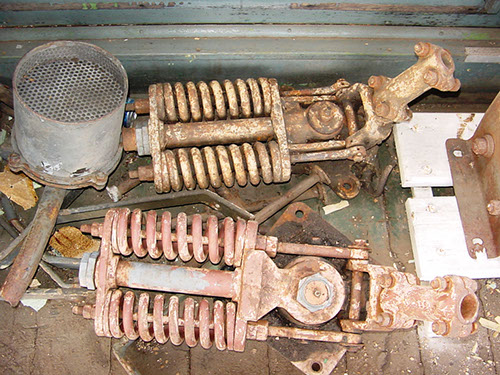
Photo 11: (above) The trolley bases used on this model are modified Hartland Locomotive Works. The photo above are typical Birney Car trolley bases.
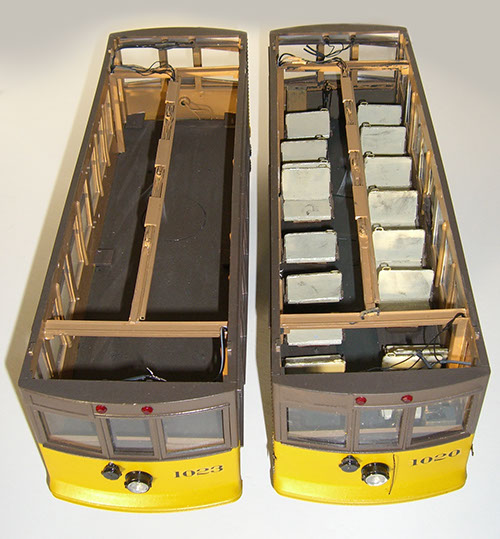
Photo 12: (above) Now is the time to begin painting the interior of the car. This would include the floor (patch the holes and make smooth) paint walls, floor, adding panels to cover indents at each end. Additional interior details, seats, controllers, brake stands. The seats have been weathered some to make them appear to be dirty, some at slight angles.
You could also outline where the interior doors would be located on the interior. You can do this by the use of small strips of wood, and later paint.
There are eight seats to each side of the car. The pedestals that come with the seats do not work with this car, as the floor height is too high. LRP used 3/8” thick wood strips, cut in short lengths and glued to the underside of the seat bottoms. Also, the seats should have a slight rake or angle to them; this is accomplished by bending the protruding tabs down at an angle from the seat backs. Be sure to glue the seats in well, by the use of weight on each single. The seats are painted cream for the cane, and brass on the handle. Brown for the wood block.
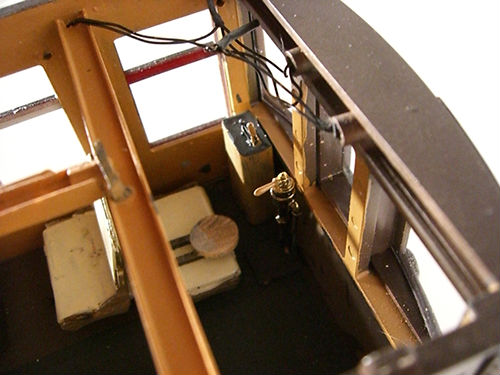
Photo 13: (above) Note operator stool. There were several types, this is one variety. The controller is from a Bachmann Open Car (surplus part). On real Birney Cars, the front interior follows the radius of the car front. Some accommodations need to be made, since the model does not follow the prototype in this area. The "Trackside" detail brake stand is not 100% correct, but it is what is currently available that is close.
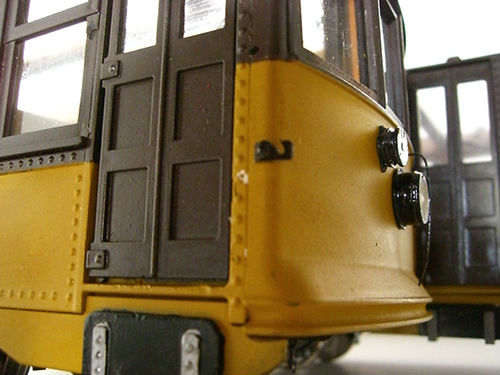
Photo 14: (above) Note hook made from sheet brass stock, it is also held to car body by a pin
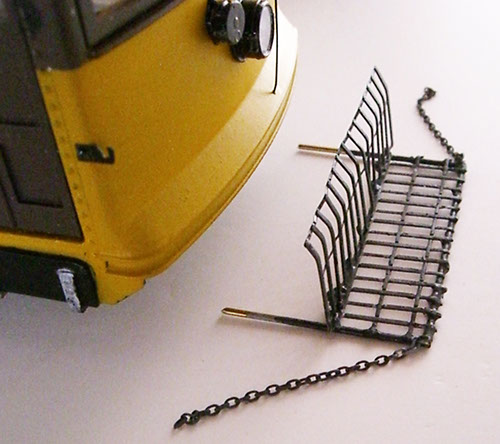
Photo 15: (above) Above, the brass fender rods were bent 90 degrees (see photo 8 & 17) and placed in a hole that is drilled into lower car body. Wood blocks were added to the underneath of the front for extra support for the brass rods. What appears to be a grab iron to the right of the headlight, is actually a guard. When the fender is in the up position, it does not damage the headlight fixture. The fender parts are from LRP 003 Eclipse Fender, which, if you contact LRP, we can sell you just the grill works. There is no part number.
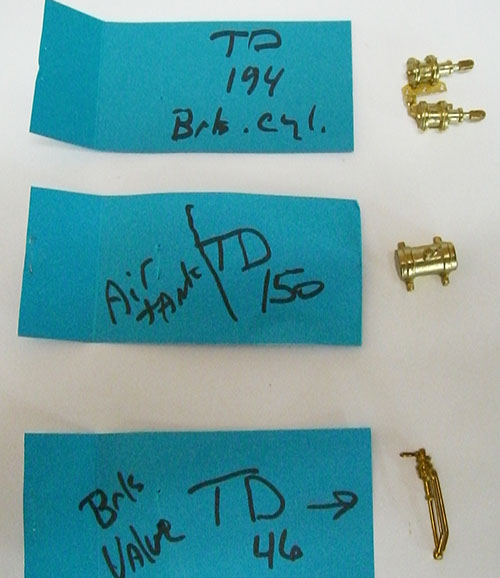
Photo 16: (above) Valley Brass and Bronze “Trackside Details” from Pinedale, CA. TD 194-Brake Cylinder (2 per pack), TD 150 - Air tank, TD 46 – Brake Valve
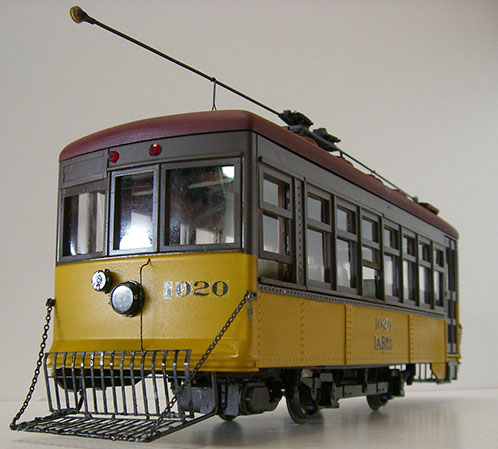
Photo 17: (above) This model is a “mostly” finished product. As mentioned earlier, the route sign boxes are not installed and the windows guards need to be made.
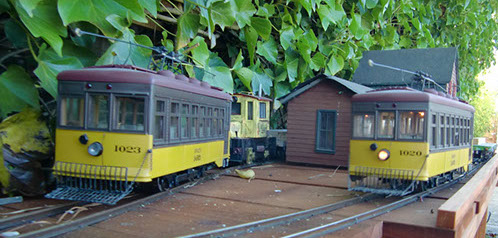
Completed Models (above, on our garden railway)
© Light Rail Products